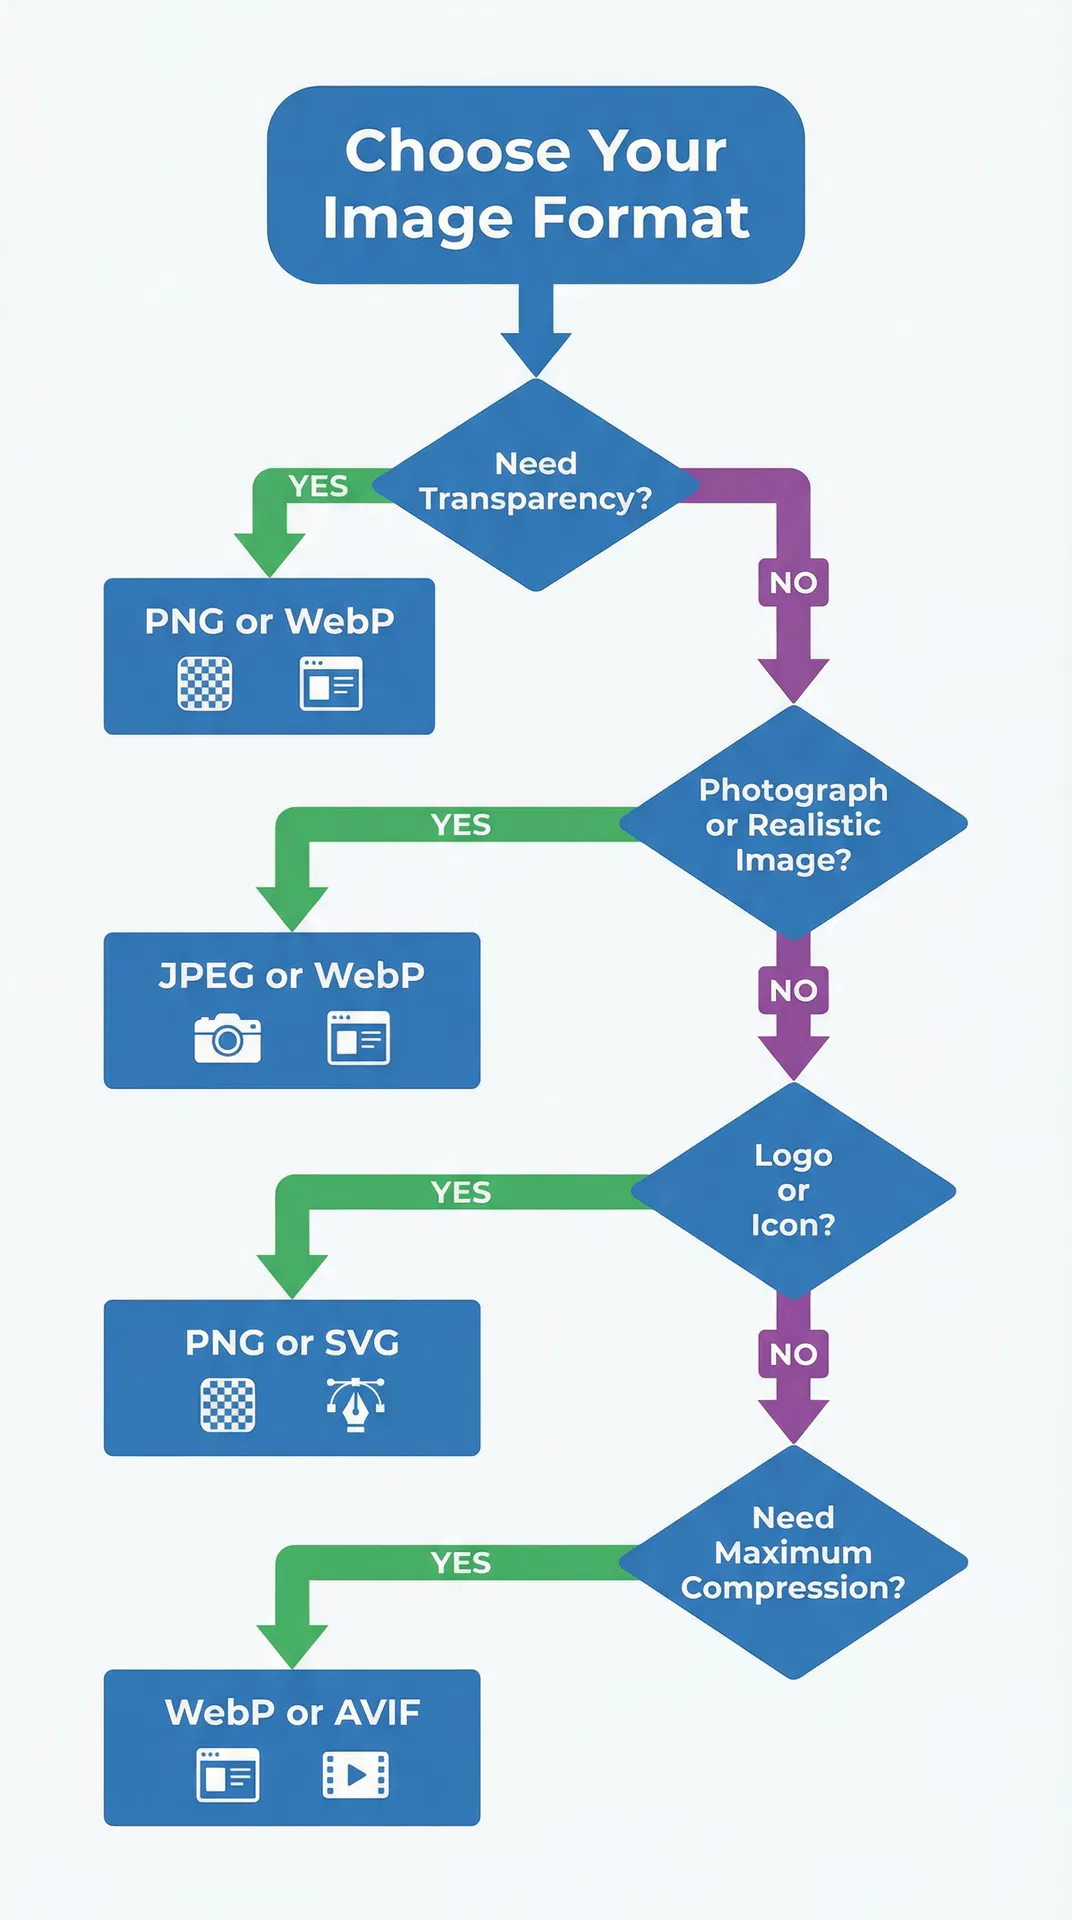
How to Remove Image Background for Free: The Complete 2026 Guide
Whether you are preparing product photos for your online store, creating social media graphics, or building a professional portfolio, removing the background from an image is one of the most common photo editing tasks. The good news is that you no longer need expensive software or advanced design skills to get clean, professional results. This guide walks you through every free method available in 2026, from one-click AI tools to manual techniques in desktop editors, so you can choose the approach that fits your workflow and skill level.
Why Background Removal Matters
A clean, isolated subject transforms an ordinary snapshot into a versatile asset. Product photos with white or transparent backgrounds convert up to 300% better on e-commerce platforms because shoppers can focus entirely on the item without visual distractions. Social media posts with custom backgrounds stand out in crowded feeds. Presentation slides look polished when headshots and product images sit cleanly against branded colors. Background removal is the foundation of professional visual content, and mastering it unlocks dozens of downstream creative possibilities.
Method 1: AI-Powered Online Tools (Fastest)
AI background removers have improved dramatically in the past two years. Modern tools use neural networks trained on millions of images to detect subjects, trace edges at the pixel level, and generate alpha mattes that preserve fine details like hair strands and semi-transparent fabrics. The entire process takes seconds rather than the minutes or hours required by manual methods.
Step-by-Step with SwiftCompress Background Remover
The SwiftCompress Background Remover offers free, browser-based background removal with no account required for basic use. Here is how to use it:
- Navigate to the tool — Open the Background Remover in any modern browser on desktop or mobile.
- Upload your image — Drag and drop your image onto the upload zone, or click to browse your files. Supported formats include PNG, JPG, and WebP.
- Wait for processing — The AI analyzes your image and removes the background automatically. Most images process in under five seconds.
- Review the result — Use the built-in comparison slider to see the original alongside the processed version. Check edges around hair, clothing, and fine details.
- Choose your output format — Select PNG for transparent backgrounds, or choose a solid color background. Adjust quality settings if needed.
- Download — Click the download button to save your processed image. For multiple images, use the batch processing feature to handle them all at once.
The AI handles the vast majority of images perfectly on the first attempt. For complex scenes with multiple subjects or unusual lighting conditions, you may want to try different quality settings or process the image at full resolution for the best edge detail.
When to Use AI Tools
AI background removers excel at standard product photography, portraits, headshots, and social media content. They are the right choice when you need fast results, when you are processing multiple images, or when you do not have access to desktop editing software. The technology handles hair, fur, and semi-transparent materials far better than it did even two years ago, making manual cleanup unnecessary for most use cases.
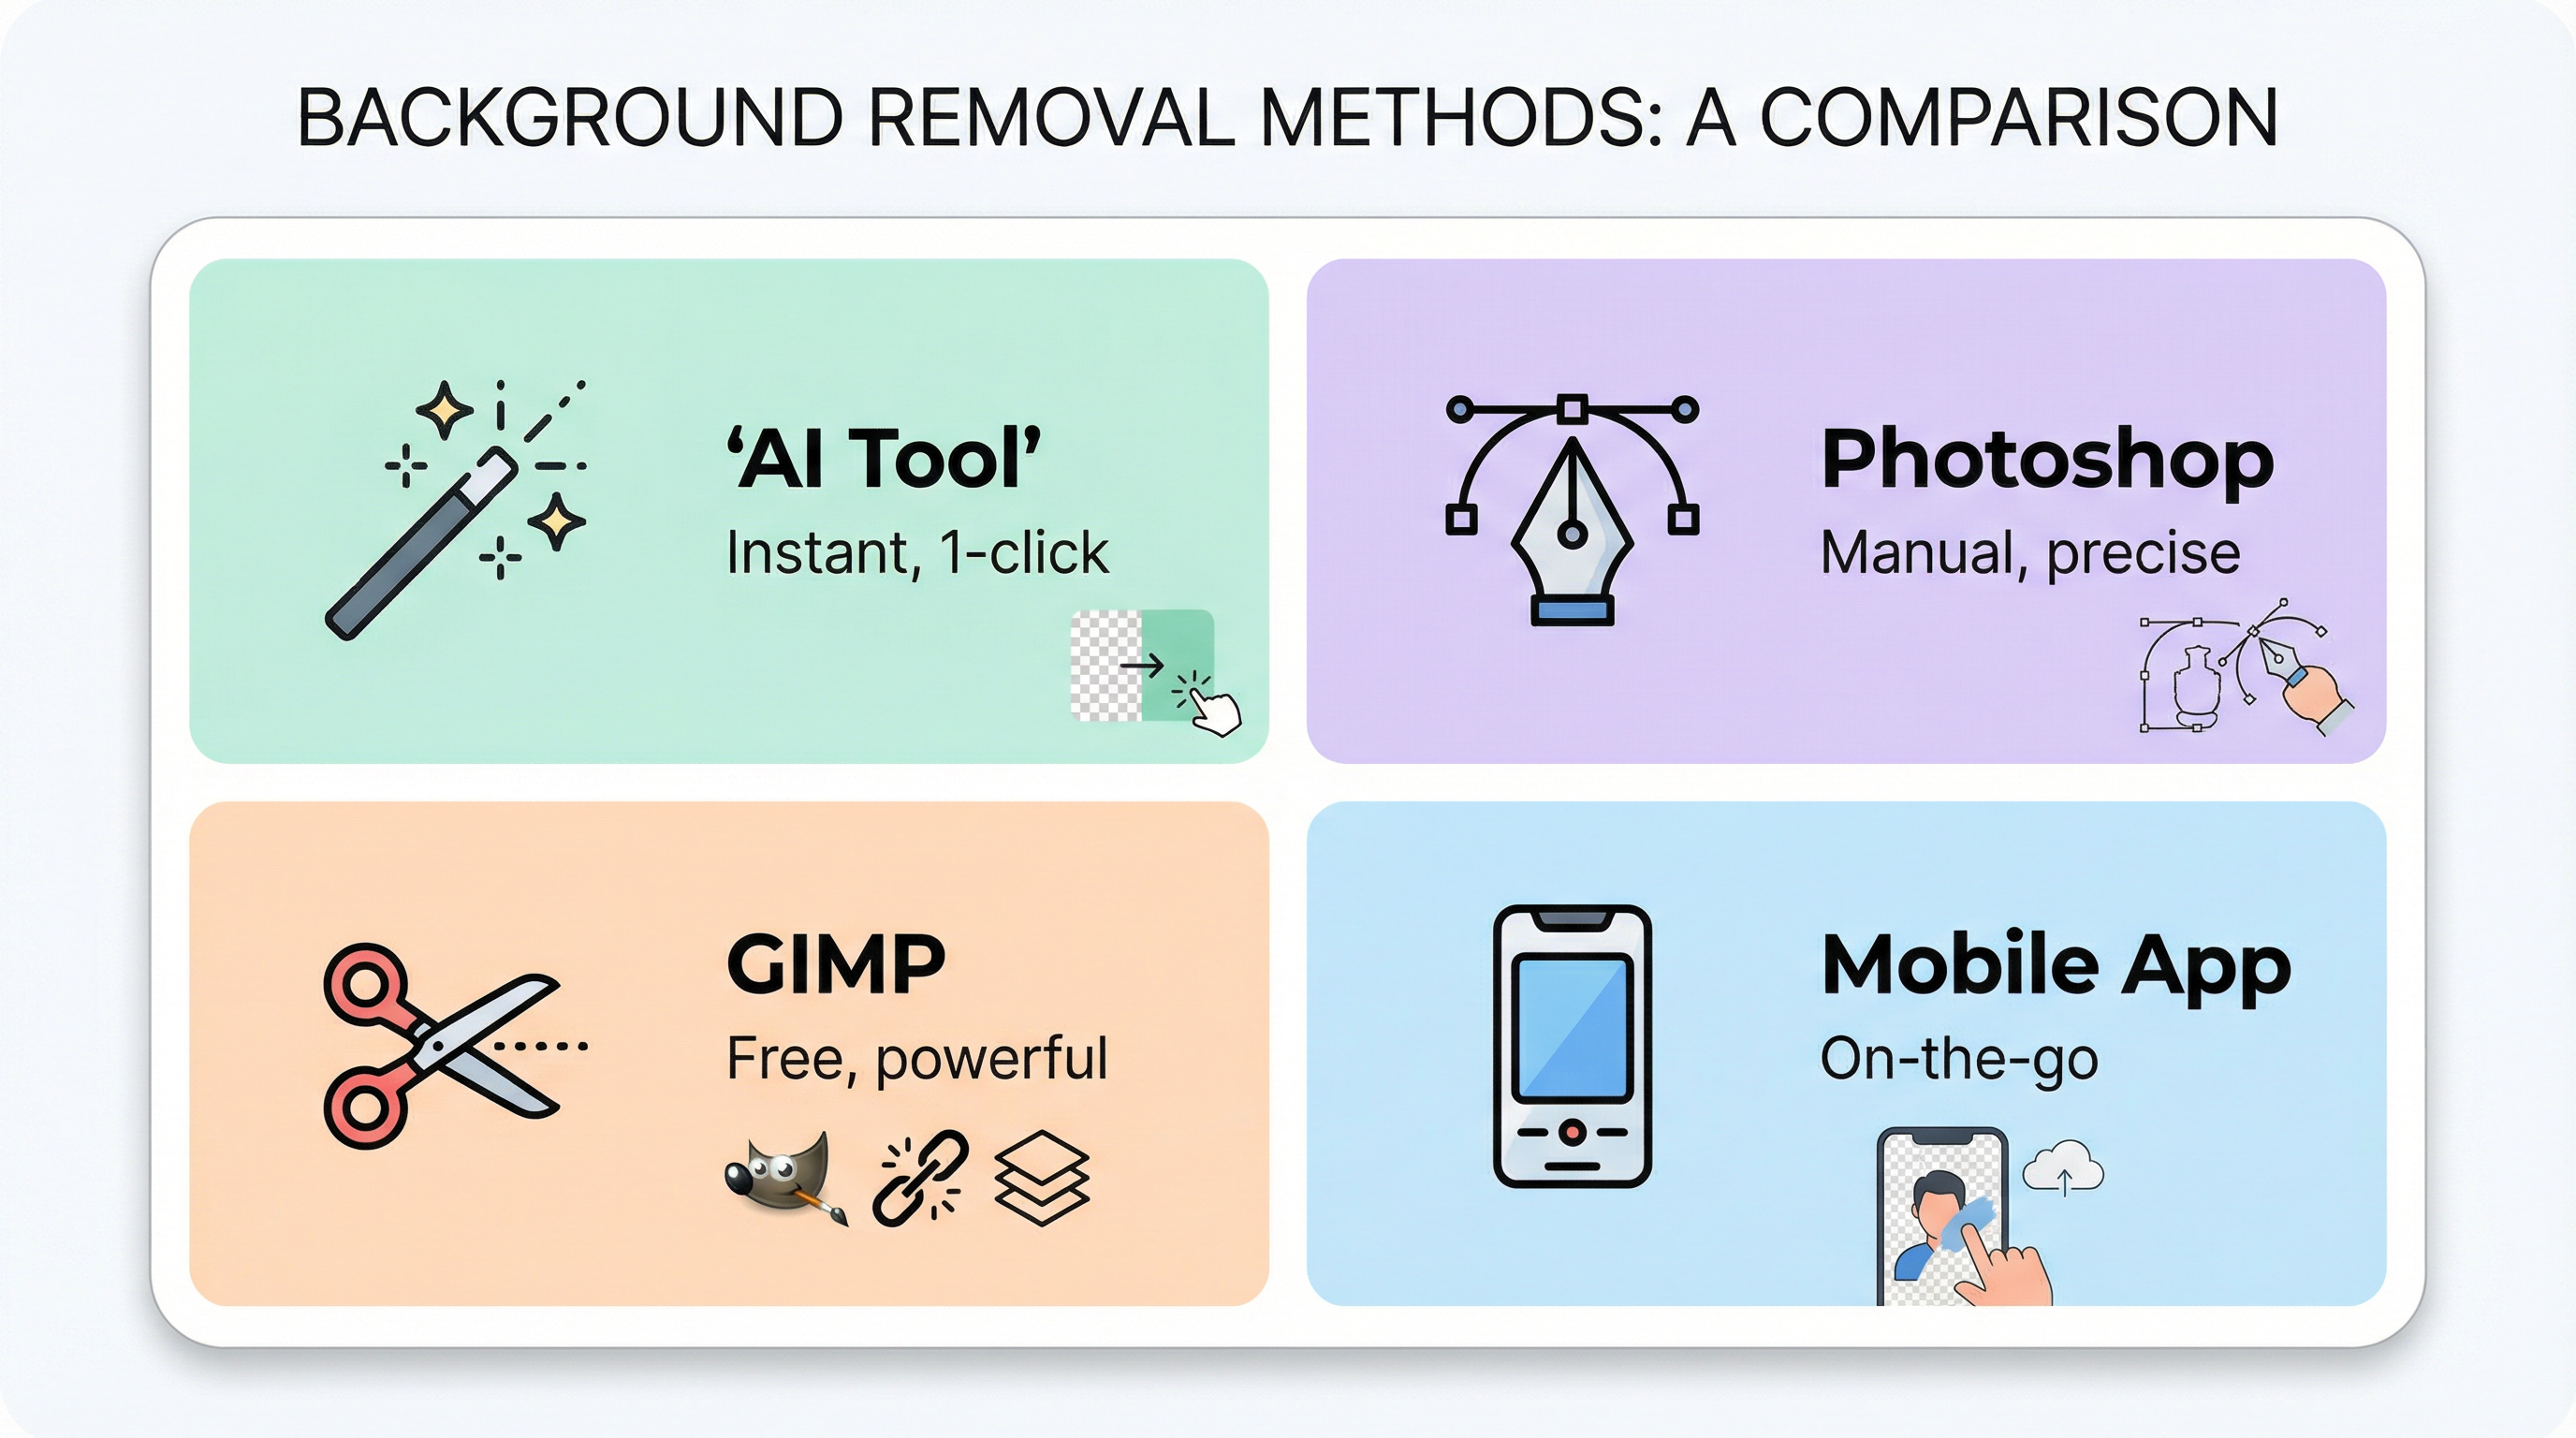
Method 2: Adobe Photoshop (Most Precise)
Photoshop remains the industry standard for complex background removal tasks that require pixel-perfect control. While it is not free, Adobe offers a seven-day free trial, and many users already have access through Creative Cloud subscriptions. The key advantage is the ability to manually refine edges after the initial selection.
Quick Selection + Select and Mask Workflow
- Open your image in Photoshop and select the Quick Selection tool (W).
- Paint over your subject — Click and drag across the subject. Photoshop's AI expands the selection to follow edges automatically.
- Open Select and Mask — Click "Select and Mask" in the options bar to enter the refinement workspace.
- Use the Refine Edge Brush — Paint along hair, fur, or any area with fine detail. This tool uses sophisticated edge detection to capture individual strands.
- Adjust Global Refinements — Use the Smooth, Feather, and Contrast sliders to clean up the selection edge. Shift Edge inward by 1-2 pixels to eliminate any remaining background fringe.
- Output as a new layer with layer mask — This preserves the original image while applying the background removal non-destructively.
- Export as PNG — Go to File > Export > Export As, select PNG, and ensure transparency is checked.
When to Use Photoshop
Photoshop is the right choice for high-stakes images where edge quality must be perfect — magazine covers, large-format prints, or hero images on your website. It is also essential when you need to remove backgrounds from images with extremely complex edges, multiple overlapping subjects, or challenging lighting conditions that confuse AI tools.
Method 3: GIMP (Free Desktop Alternative)
GIMP (GNU Image Manipulation Program) is a free, open-source image editor that provides professional-grade background removal tools. While the learning curve is steeper than AI tools, GIMP gives you full manual control without any cost or subscription.
Foreground Select Tool Workflow
- Open your image in GIMP and select the Foreground Select tool from the toolbox.
- Draw a rough outline around your subject — This does not need to be precise. Just create a loose selection that contains the entire subject.
- Paint the foreground — GIMP highlights the background in blue. Paint over the subject to tell GIMP what to keep. Focus on areas with distinct colors and textures.
- Press Enter to generate the selection. GIMP uses the painted samples to calculate which pixels belong to the foreground.
- Refine with QuickMask — Press Q to enter QuickMask mode. Use a small brush to paint areas that were missed or incorrectly selected.
- Add an alpha channel — Go to Layer > Transparency > Add Alpha Channel if your image does not already have one.
- Invert and delete — Go to Select > Invert, then press Delete to remove the background. Export as PNG to preserve transparency.
When to Use GIMP
GIMP is ideal when you need desktop-level control but cannot justify the cost of Photoshop. It handles complex selections well once you learn the tools, and it runs on Windows, macOS, and Linux. The trade-off is speed — what takes five seconds in an AI tool may take five to fifteen minutes in GIMP, depending on image complexity.
Method 4: Mobile Apps (On-the-Go)
When you need to remove a background from your phone, several free apps deliver surprisingly good results. The built-in photo editors on both iOS and Android now include basic background removal features, and dedicated apps offer more control.
Top Free Mobile Options
iOS (iPhone/iPad): The built-in Photos app in iOS 16 and later can automatically detect and isolate subjects. Long-press on a subject in any photo, and iOS will highlight it with a glowing outline. Tap "Copy" to get the isolated subject on your clipboard, ready to paste into any app.
Android: Google Photos includes a basic background removal feature for Pixel devices, and Samsung Gallery offers similar functionality on Galaxy phones. For broader Android compatibility, apps like PhotoRoom and Background Eraser provide free tiers with good quality.
Cross-Platform: The SwiftCompress Background Remover works in any mobile browser, giving you the same AI-powered results on your phone as on desktop without installing an app.
Common Background Removal Problems (And How to Fix Them)
Even the best tools occasionally produce imperfect results. Understanding the most common problems helps you diagnose issues quickly and choose the right fix.
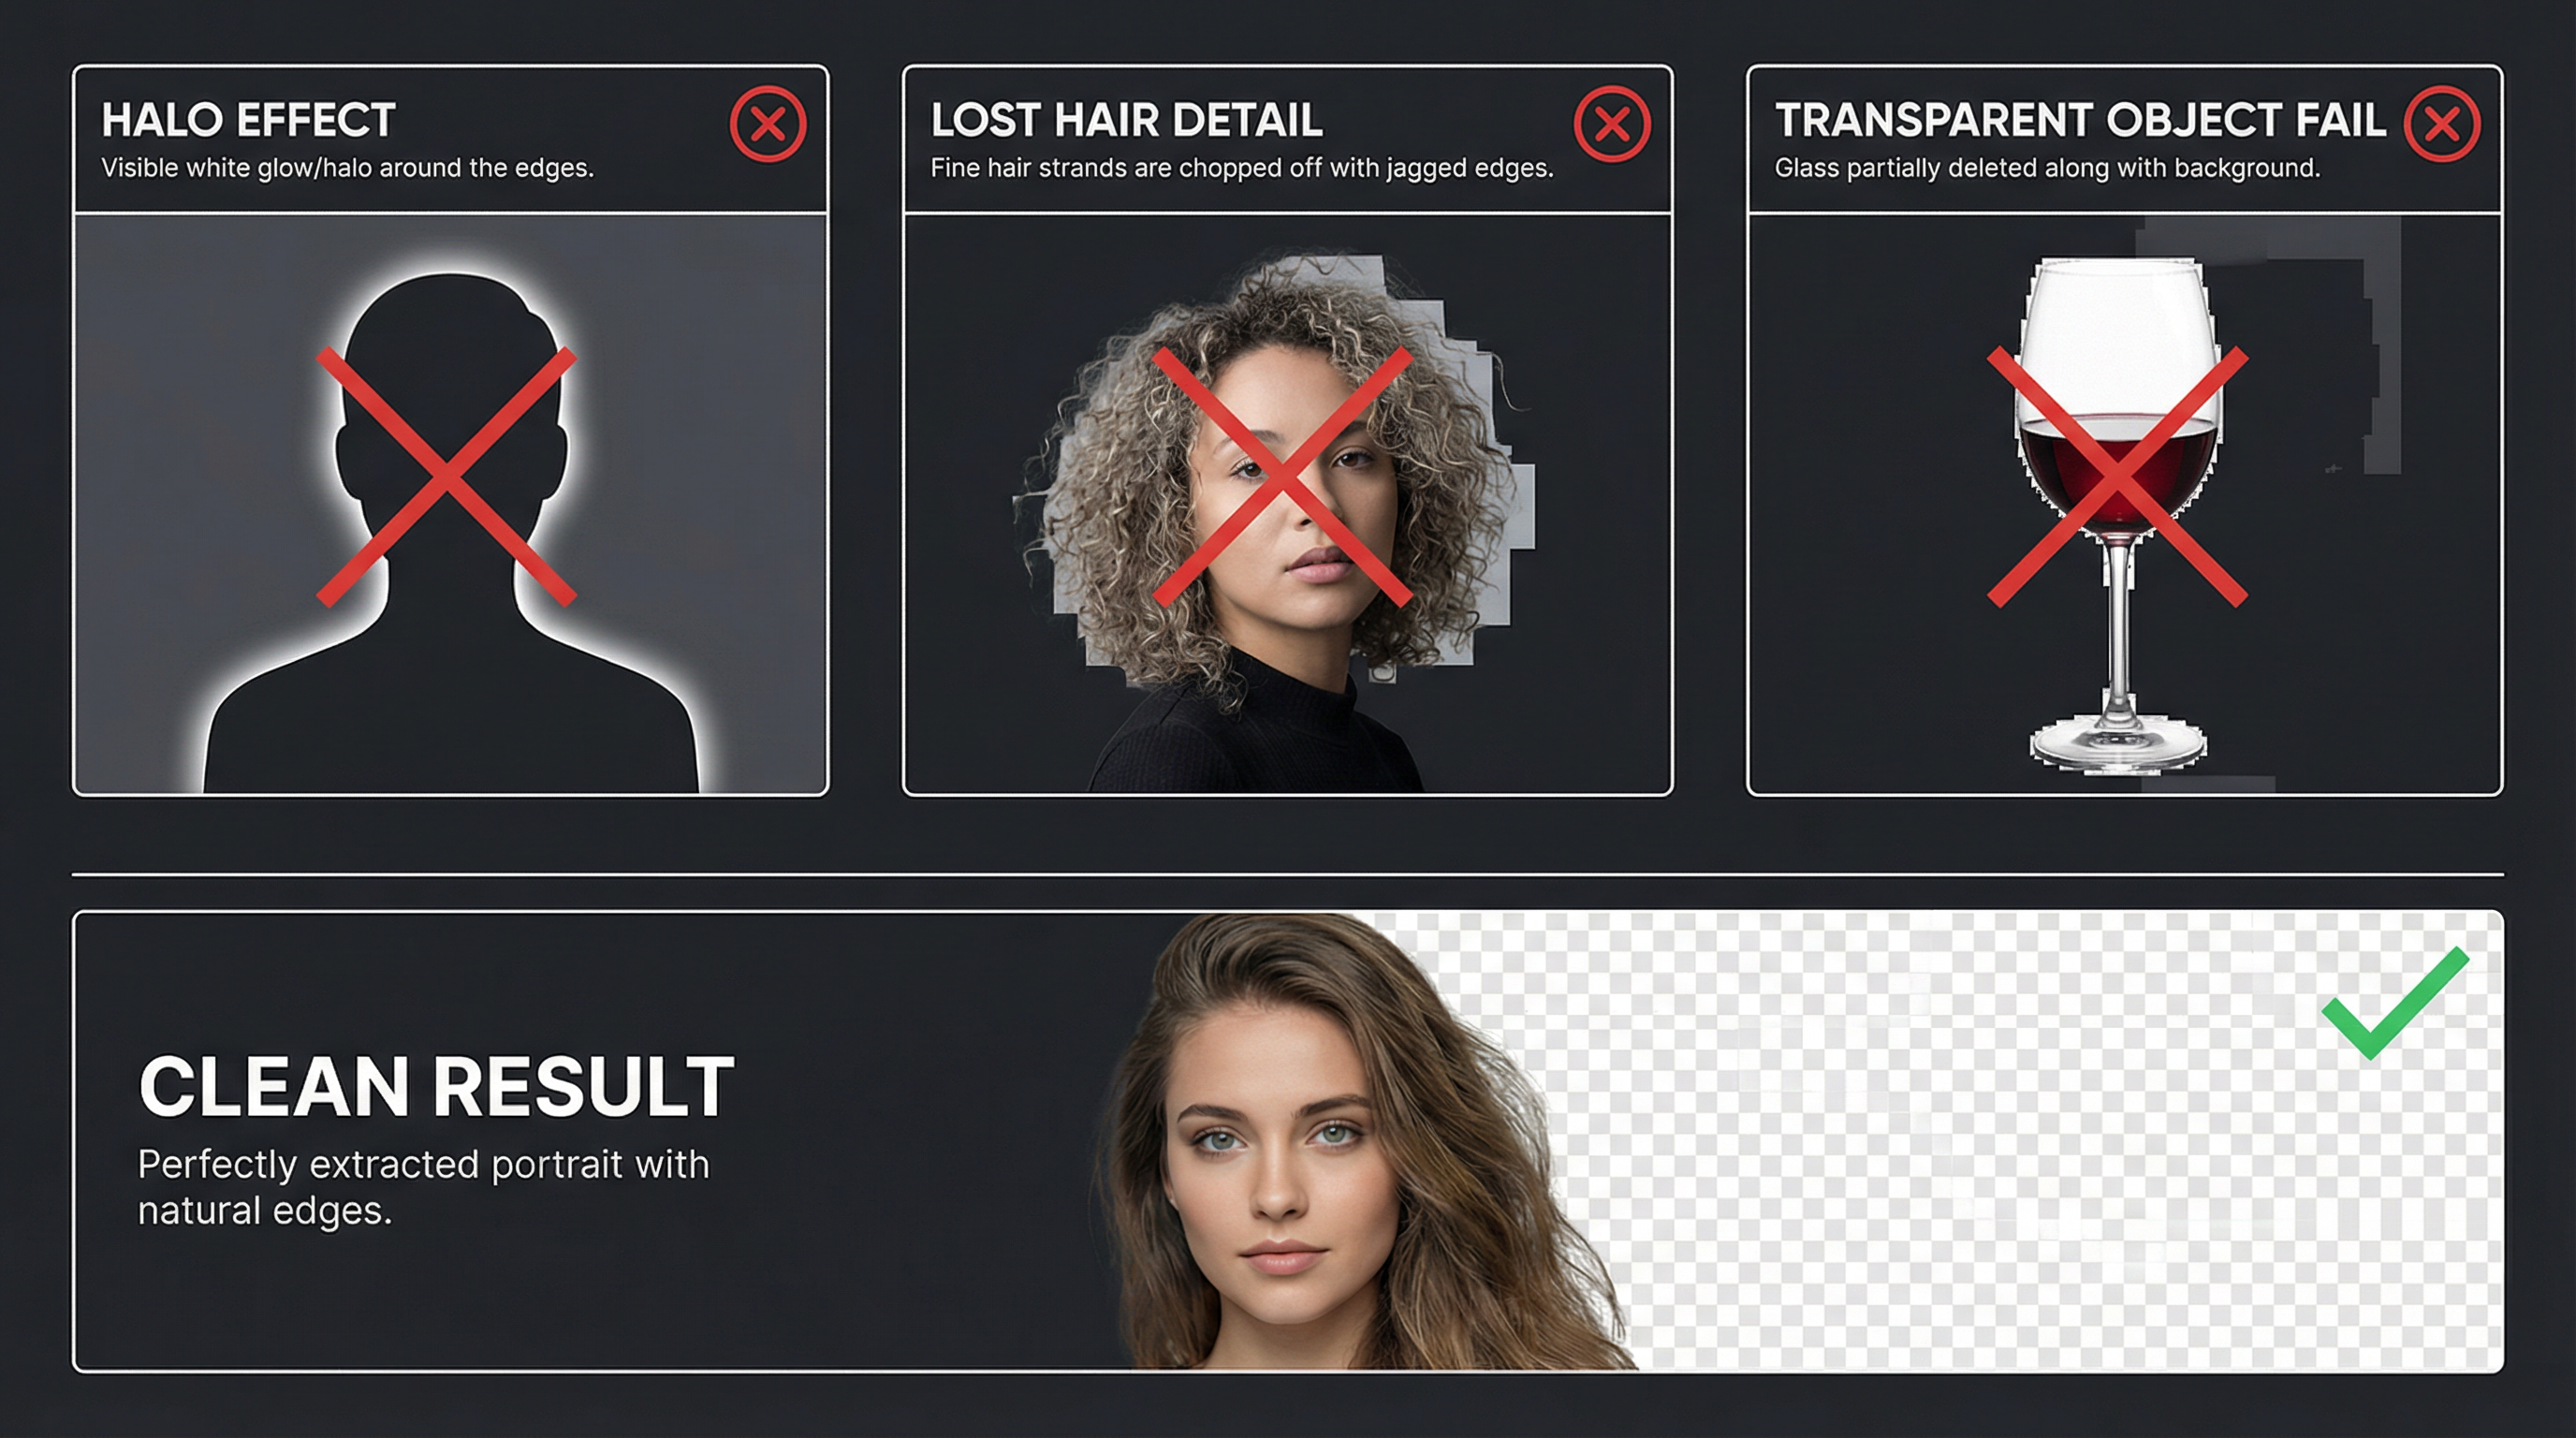
The Halo Effect
A visible white or colored fringe around the subject is the most common background removal artifact. It happens when the tool uses binary segmentation (each pixel is either foreground or background) without proper alpha matting for the transition zone. To fix halos, try processing the image at a higher quality setting, or use a tool with alpha matting support. In Photoshop or GIMP, you can contract the selection by 1-2 pixels before deleting the background.
Lost Hair and Fine Detail
Curly hair, flyaway strands, and fur are the hardest elements for any background remover to handle. AI tools have improved significantly in this area, but some still clip fine details. If your tool loses hair detail, try uploading a higher-resolution version of the image — more pixels give the AI more information to work with. For critical images, Photoshop's Refine Edge Brush remains the gold standard.
Transparent and Semi-Transparent Objects
Glass, sheer fabric, smoke, and water present unique challenges because they are partially transparent. Most background removers either delete these elements entirely or leave ghost outlines. For transparent objects, AI tools with alpha matting (like the SwiftCompress Background Remover) produce the best automated results. For absolute precision, manual masking in Photoshop with careful opacity adjustments is the most reliable approach.
Color Spill from the Original Background
When the original background color reflects onto the subject (common with green screens or brightly colored walls), removing the background reveals a color cast on the subject's edges. In Photoshop, use the Decontaminate Colors option in Select and Mask. In AI tools, processing the image at higher quality settings often reduces color spill automatically.
Choosing the Right Method for Your Needs
The best background removal method depends on your specific situation. Here is a quick decision framework:
Choose an AI tool when:
- You need results in seconds, not minutes
- You are processing multiple images (batch workflows)
- The subject has clear edges and standard lighting
- You do not have desktop editing software installed
Choose Photoshop when:
- Edge quality must be absolutely perfect
- The image has extremely complex elements (overlapping subjects, unusual materials)
- You need non-destructive editing with layer masks
- The image will be used at very large sizes (billboards, large prints)
Choose GIMP when:
- You need desktop-level control but want a free tool
- You are comfortable with a steeper learning curve
- You work on Linux or prefer open-source software
Choose a mobile app when:
- You need to remove a background immediately from your phone
- The image is relatively simple (single subject, clear edges)
- You plan to share the result directly on social media
Tips for Better Background Removal Results
Regardless of which method you choose, these practices consistently improve output quality:
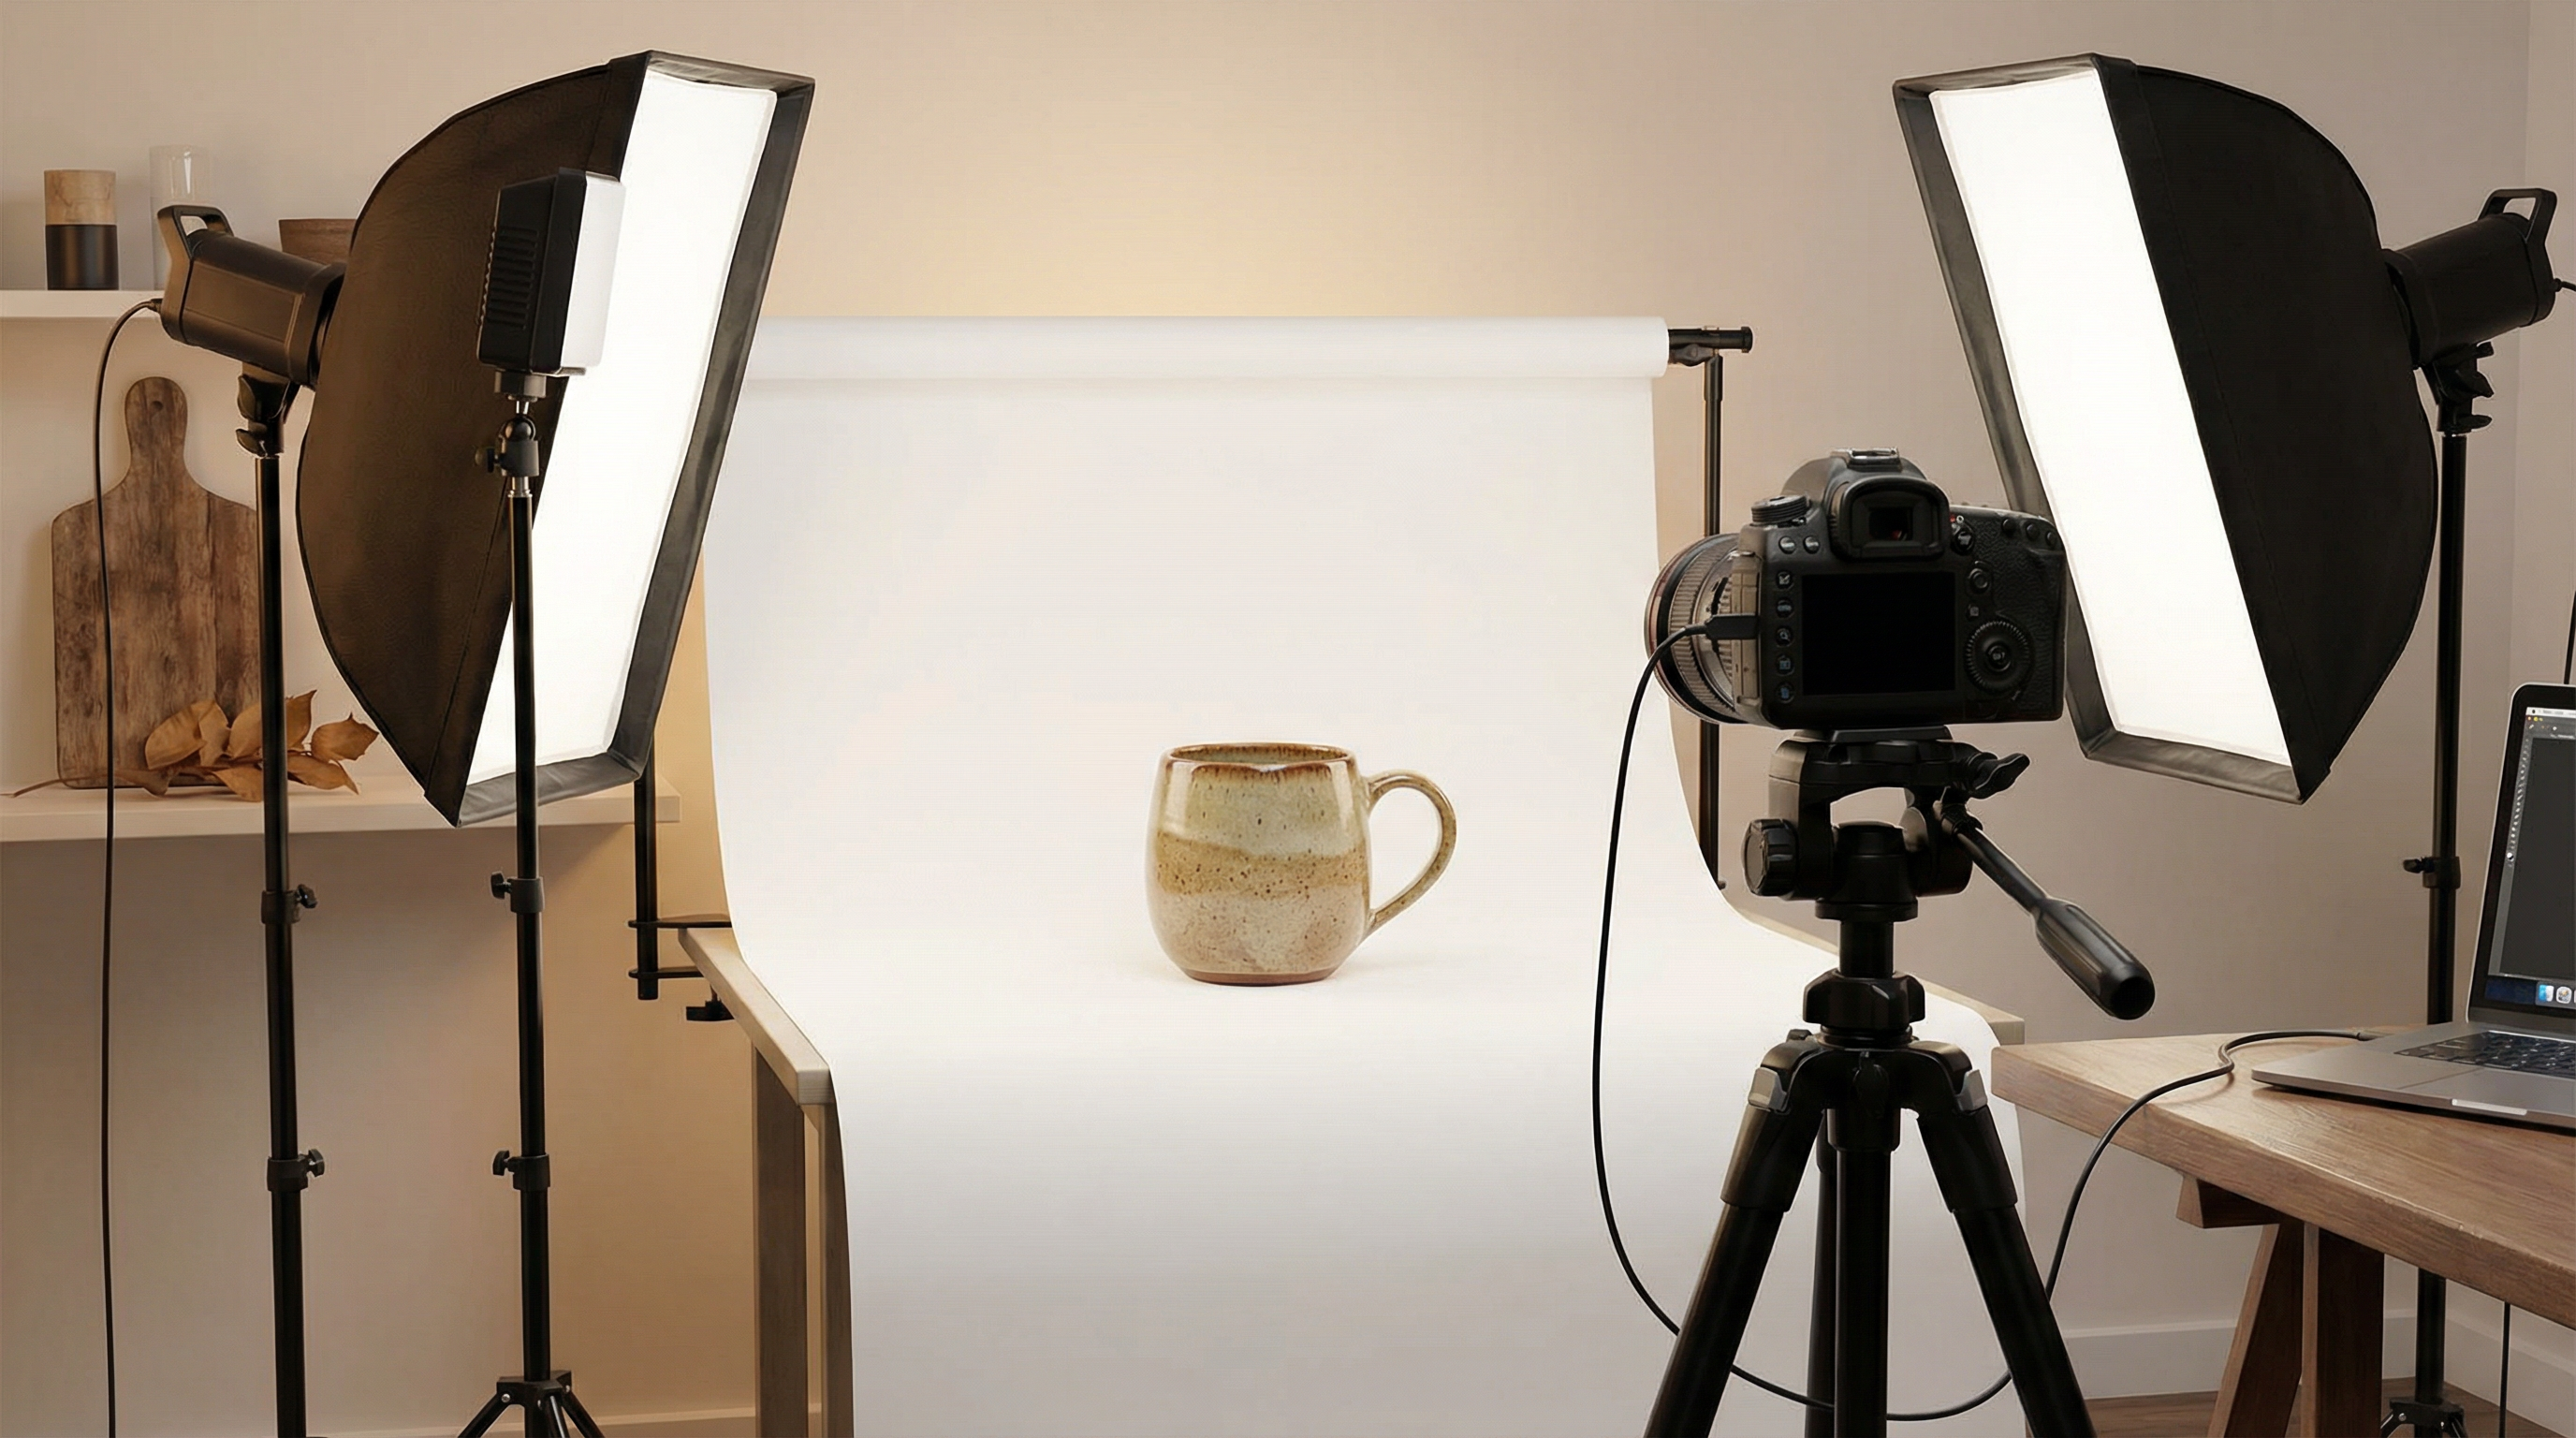
Start with a good photo. Sharp focus, even lighting, and contrast between the subject and background make every tool work better. If you are photographing products specifically for background removal, use a plain, contrasting backdrop and diffused lighting.
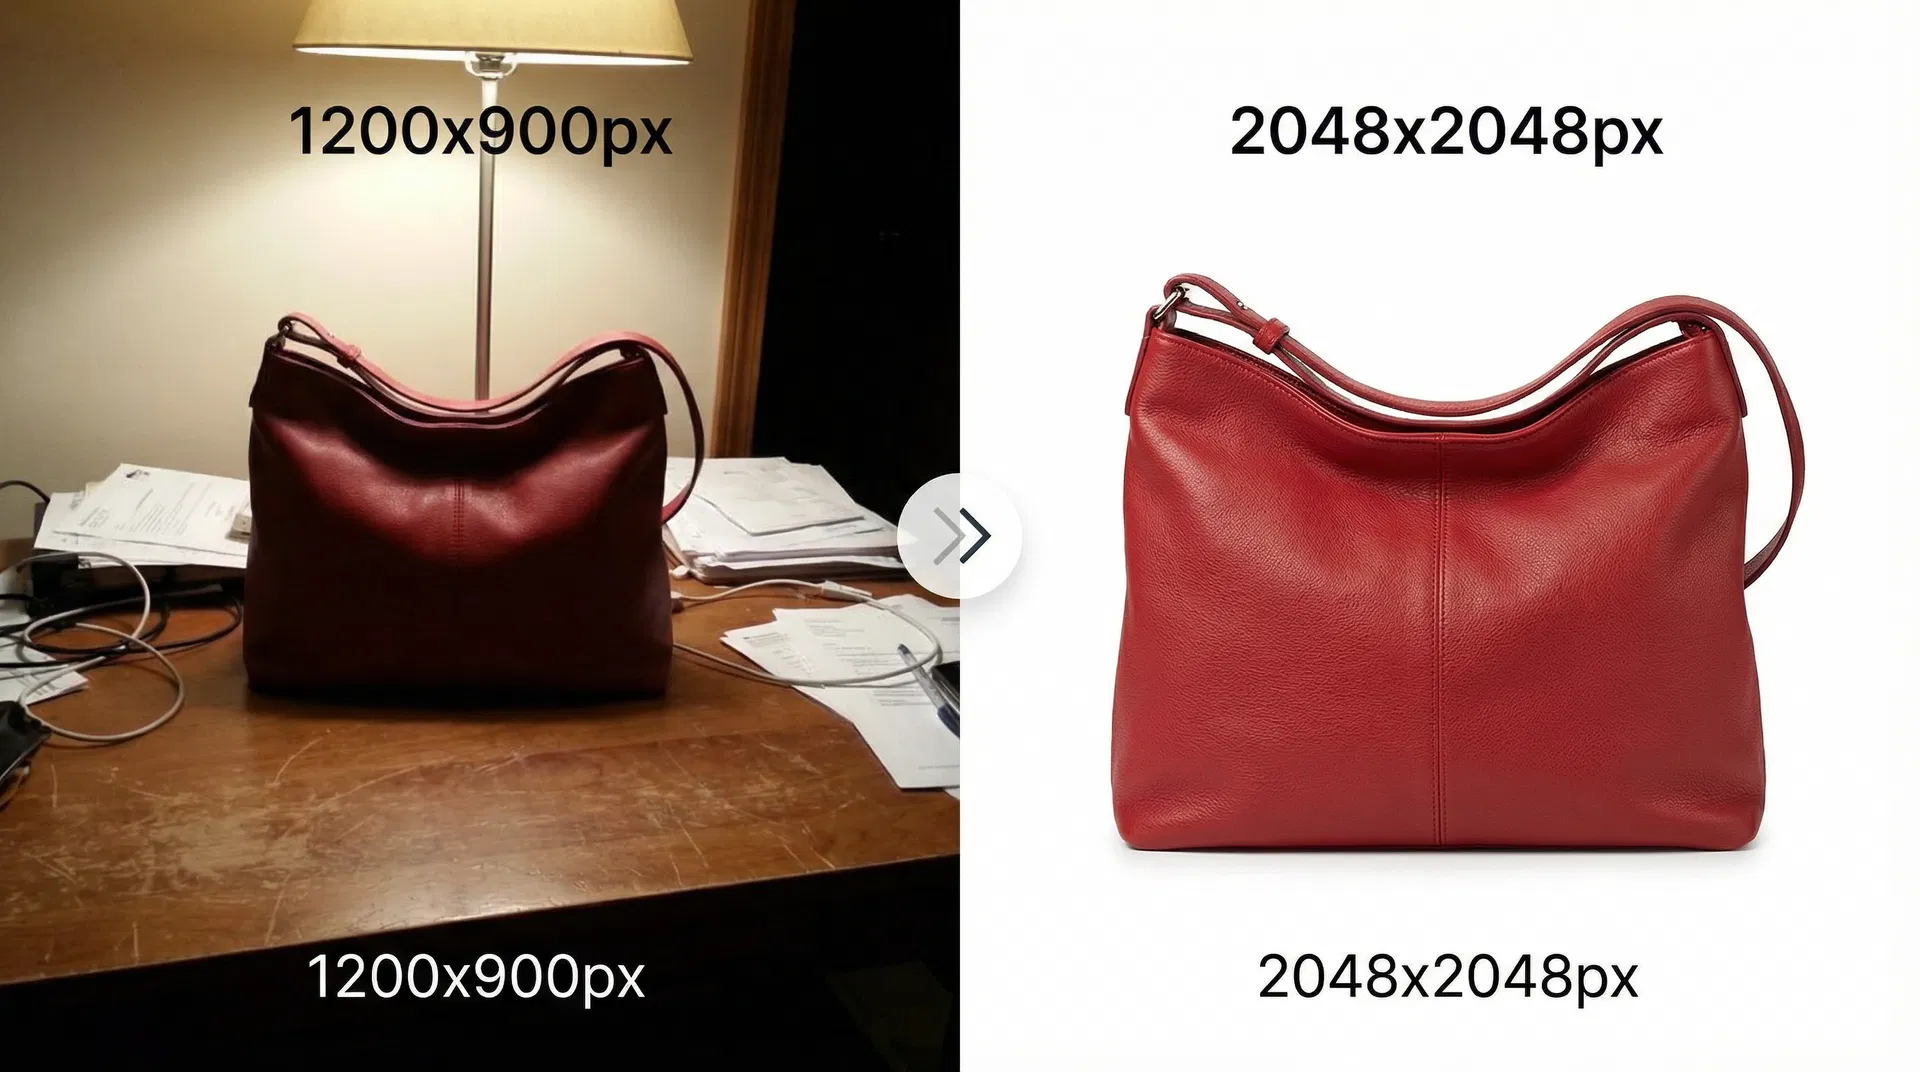
Work at the highest resolution available. More pixels mean more edge detail for the AI or manual selection to work with. You can always downsize after processing, but you cannot add detail that was not captured.
Save as PNG for transparency. JPG does not support transparency — if you save your background-removed image as JPG, it will get a white background. Always export as PNG when you need a transparent background. If file size is a concern, use the SwiftCompress Image Compressor to optimize the PNG without losing transparency.
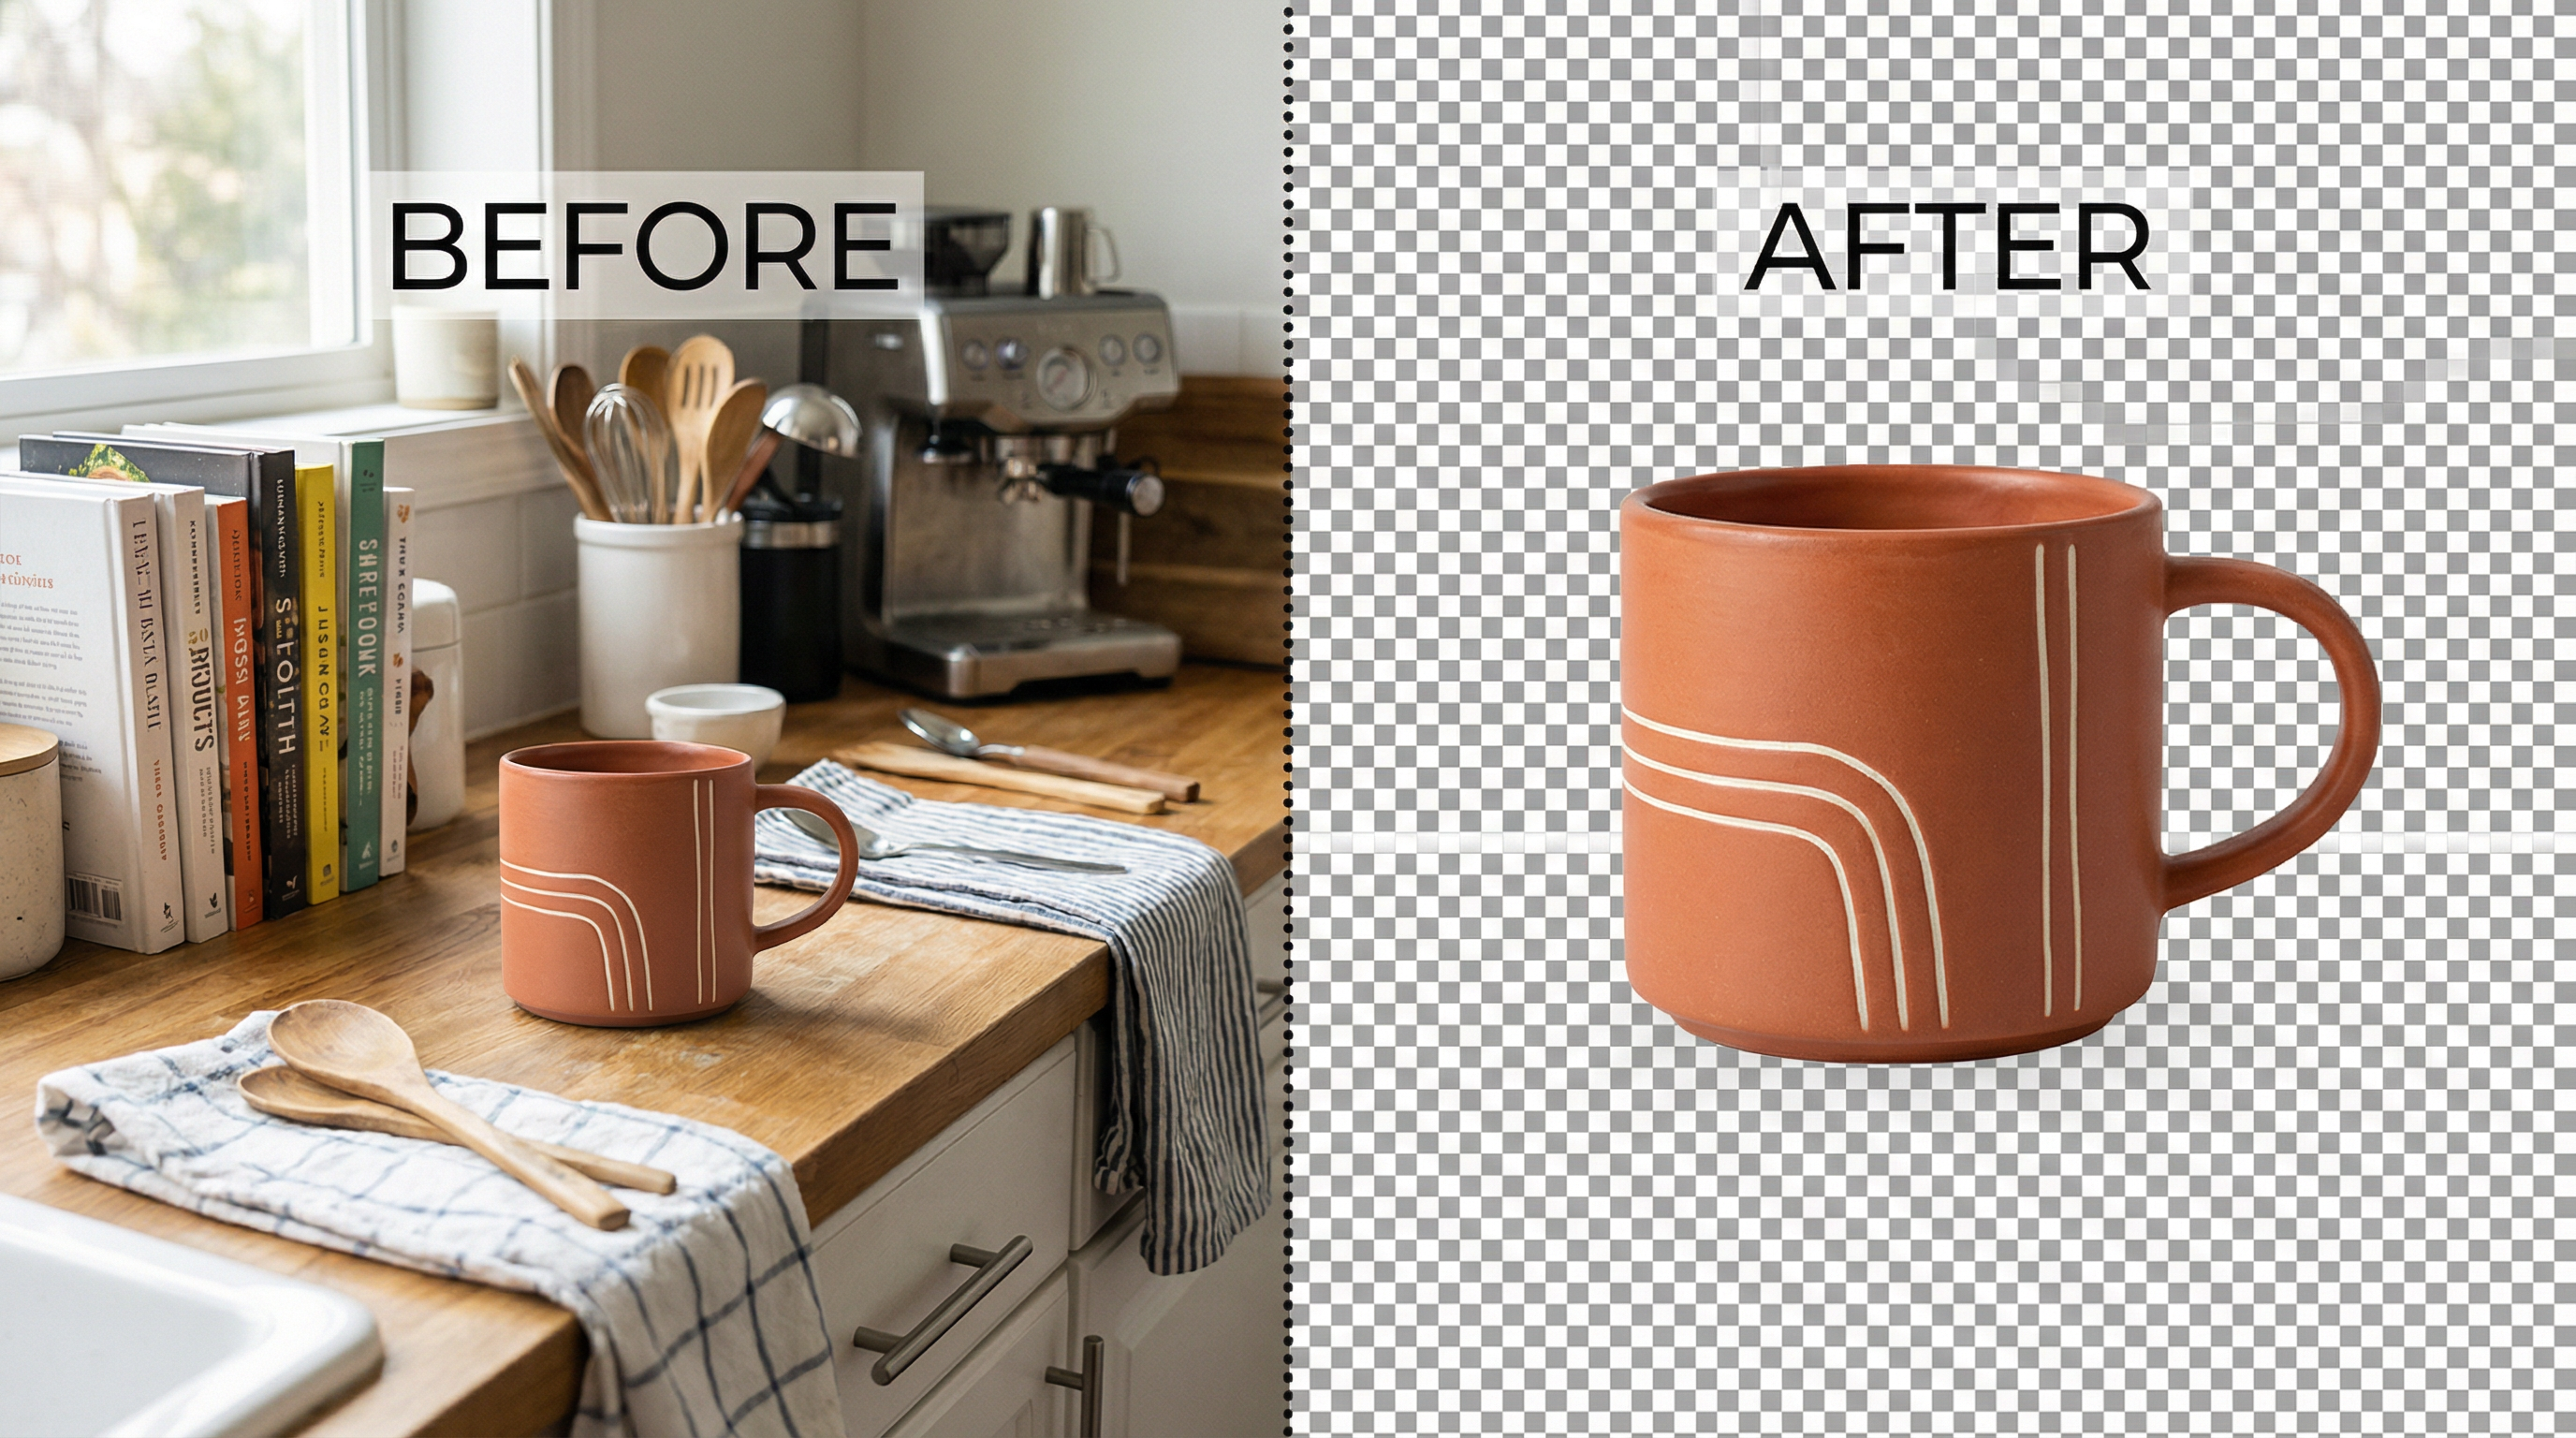
Check your work on a colored background. The standard checkerboard transparency pattern can hide edge artifacts. Place your cutout on a solid dark color and a solid light color to verify that edges look clean in both contexts.
Process in batches when possible. If you have multiple images that need background removal, batch processing saves significant time. The SwiftCompress Background Remover supports batch uploads, and Photoshop offers Actions for automating repetitive tasks.
How Background Removal Fits Your Workflow
Background removal is rarely the final step. Once you have a clean cutout, you can place it on a white background for Amazon listings, prepare it for Etsy product photos, resize it for different social media platforms, or composite it into marketing materials. Having a reliable background removal workflow means every downstream task starts with a clean, professional asset.
For e-commerce sellers processing dozens or hundreds of product photos, the combination of AI background removal and batch processing can reduce photo editing time from hours to minutes. For social media managers creating daily content, instant background removal means faster turnaround on graphics and stories. For photographers and designers, automated background removal handles the tedious work so you can focus on creative decisions.
Frequently Asked Questions
What is the best free background remover in 2026?
AI-powered tools like the SwiftCompress Background Remover deliver the best combination of speed, quality, and ease of use for free. They handle hair, semi-transparent materials, and complex edges better than most paid alternatives from just two years ago. For users who need manual control, GIMP provides professional-grade tools at no cost.
How do I remove a white background from an image?
Upload your image to any AI background remover — white backgrounds are the easiest to remove because there is strong contrast between the subject and background. The tool will automatically detect the subject and make the white areas transparent. Save the result as PNG to preserve the transparency.
Can I remove backgrounds in bulk for free?
Yes. The SwiftCompress Background Remover supports batch processing, allowing you to upload and process multiple images simultaneously. For desktop workflows, you can set up batch actions in GIMP using Script-Fu, though this requires some scripting knowledge.
Why does my background removal have white edges or halos?
Halos occur when the tool uses binary segmentation without alpha matting. The pixels in the transition zone between subject and background get forced to one side, creating a visible fringe. To fix this, try a tool with alpha matting support, process at higher quality settings, or manually contract the selection by 1-2 pixels in Photoshop or GIMP.
Is it better to use AI or manual tools for background removal?
For 90% of images, AI tools produce results that are equal to or better than manual work, in a fraction of the time. Manual tools like Photoshop are still superior for extremely complex images with overlapping subjects, unusual materials, or when you need pixel-perfect control for large-format output.
What file format should I save after removing the background?
Always save as PNG when you need a transparent background. JPG does not support transparency and will replace transparent areas with white. If file size is a concern, compress the PNG using an image optimization tool — modern compression can reduce PNG file sizes by 50-70% without visible quality loss.
Can I remove backgrounds on my phone for free?
Yes. On iPhone, long-press any subject in the Photos app to isolate it automatically. On Android, Google Photos and Samsung Gallery offer similar features. For the best results on any phone, use the SwiftCompress Background Remover in your mobile browser — it works identically to the desktop version.
How do I handle hair and fine edges in background removal?
Hair is the hardest element for background removal. AI tools with alpha matting handle it best automatically. For manual work, Photoshop's Refine Edge Brush is the gold standard — paint along the hairline in Select and Mask mode, and the tool will detect individual strands. In GIMP, use a small soft brush in QuickMask mode to carefully paint the hair boundary. Regardless of method, starting with a high-resolution image gives every tool more edge detail to work with.
Ready to remove backgrounds from your images for free? Try the SwiftCompress Background Remover — no signup required, instant results, and batch processing for multiple images.